Photography, Techniques
Fuji raw conversion workflow
I'm a big fan of Lightroom, particularly for it asset management features and I have built my workflow around its features. This have been working well since the early days of Lightroom and would still be working well as a complete workflow if I had stayed with Canon's camera system.
The good
The features that keep me with Lightroom are:
- Import routines:I use Lightroom to store images by date. It will automatically create a year folder, month folder and day folder to match the creation date of the import file and this is how I organise my raw files. In addition, I add basic keywords to the image, copyright information.
- Collections: For me this is the biggie. I make extensive use of collections to group images. From competition entries, to tracking FIAP salons, I would be completely lost if someone took away my access to Lightroom collections.It is the basis.
- Web/Social media: Lightroom has add-in plugins to allow direct export to selected social media sites ( Flickr, 500px & Instagram) and direct to the gallery plugin on the website. The plugins and Lightroom working together to greatly simplify workflow involved in publishing images.
Date based folder structure
The bad
There are only two areas that bother me when it comes to Lightroom - performance and fuji raw conversions. In recent years, Adobe have made great strides in improving its performance in recent years, but its still probably rates a "could do better" comment. Its at least usable in its current form.
Fuji raw conversions on the other hand are not what I would describe as optimal, particularly with high ISO images. I have been an on-and-off user of Capture One over the years and decided to give it a try.
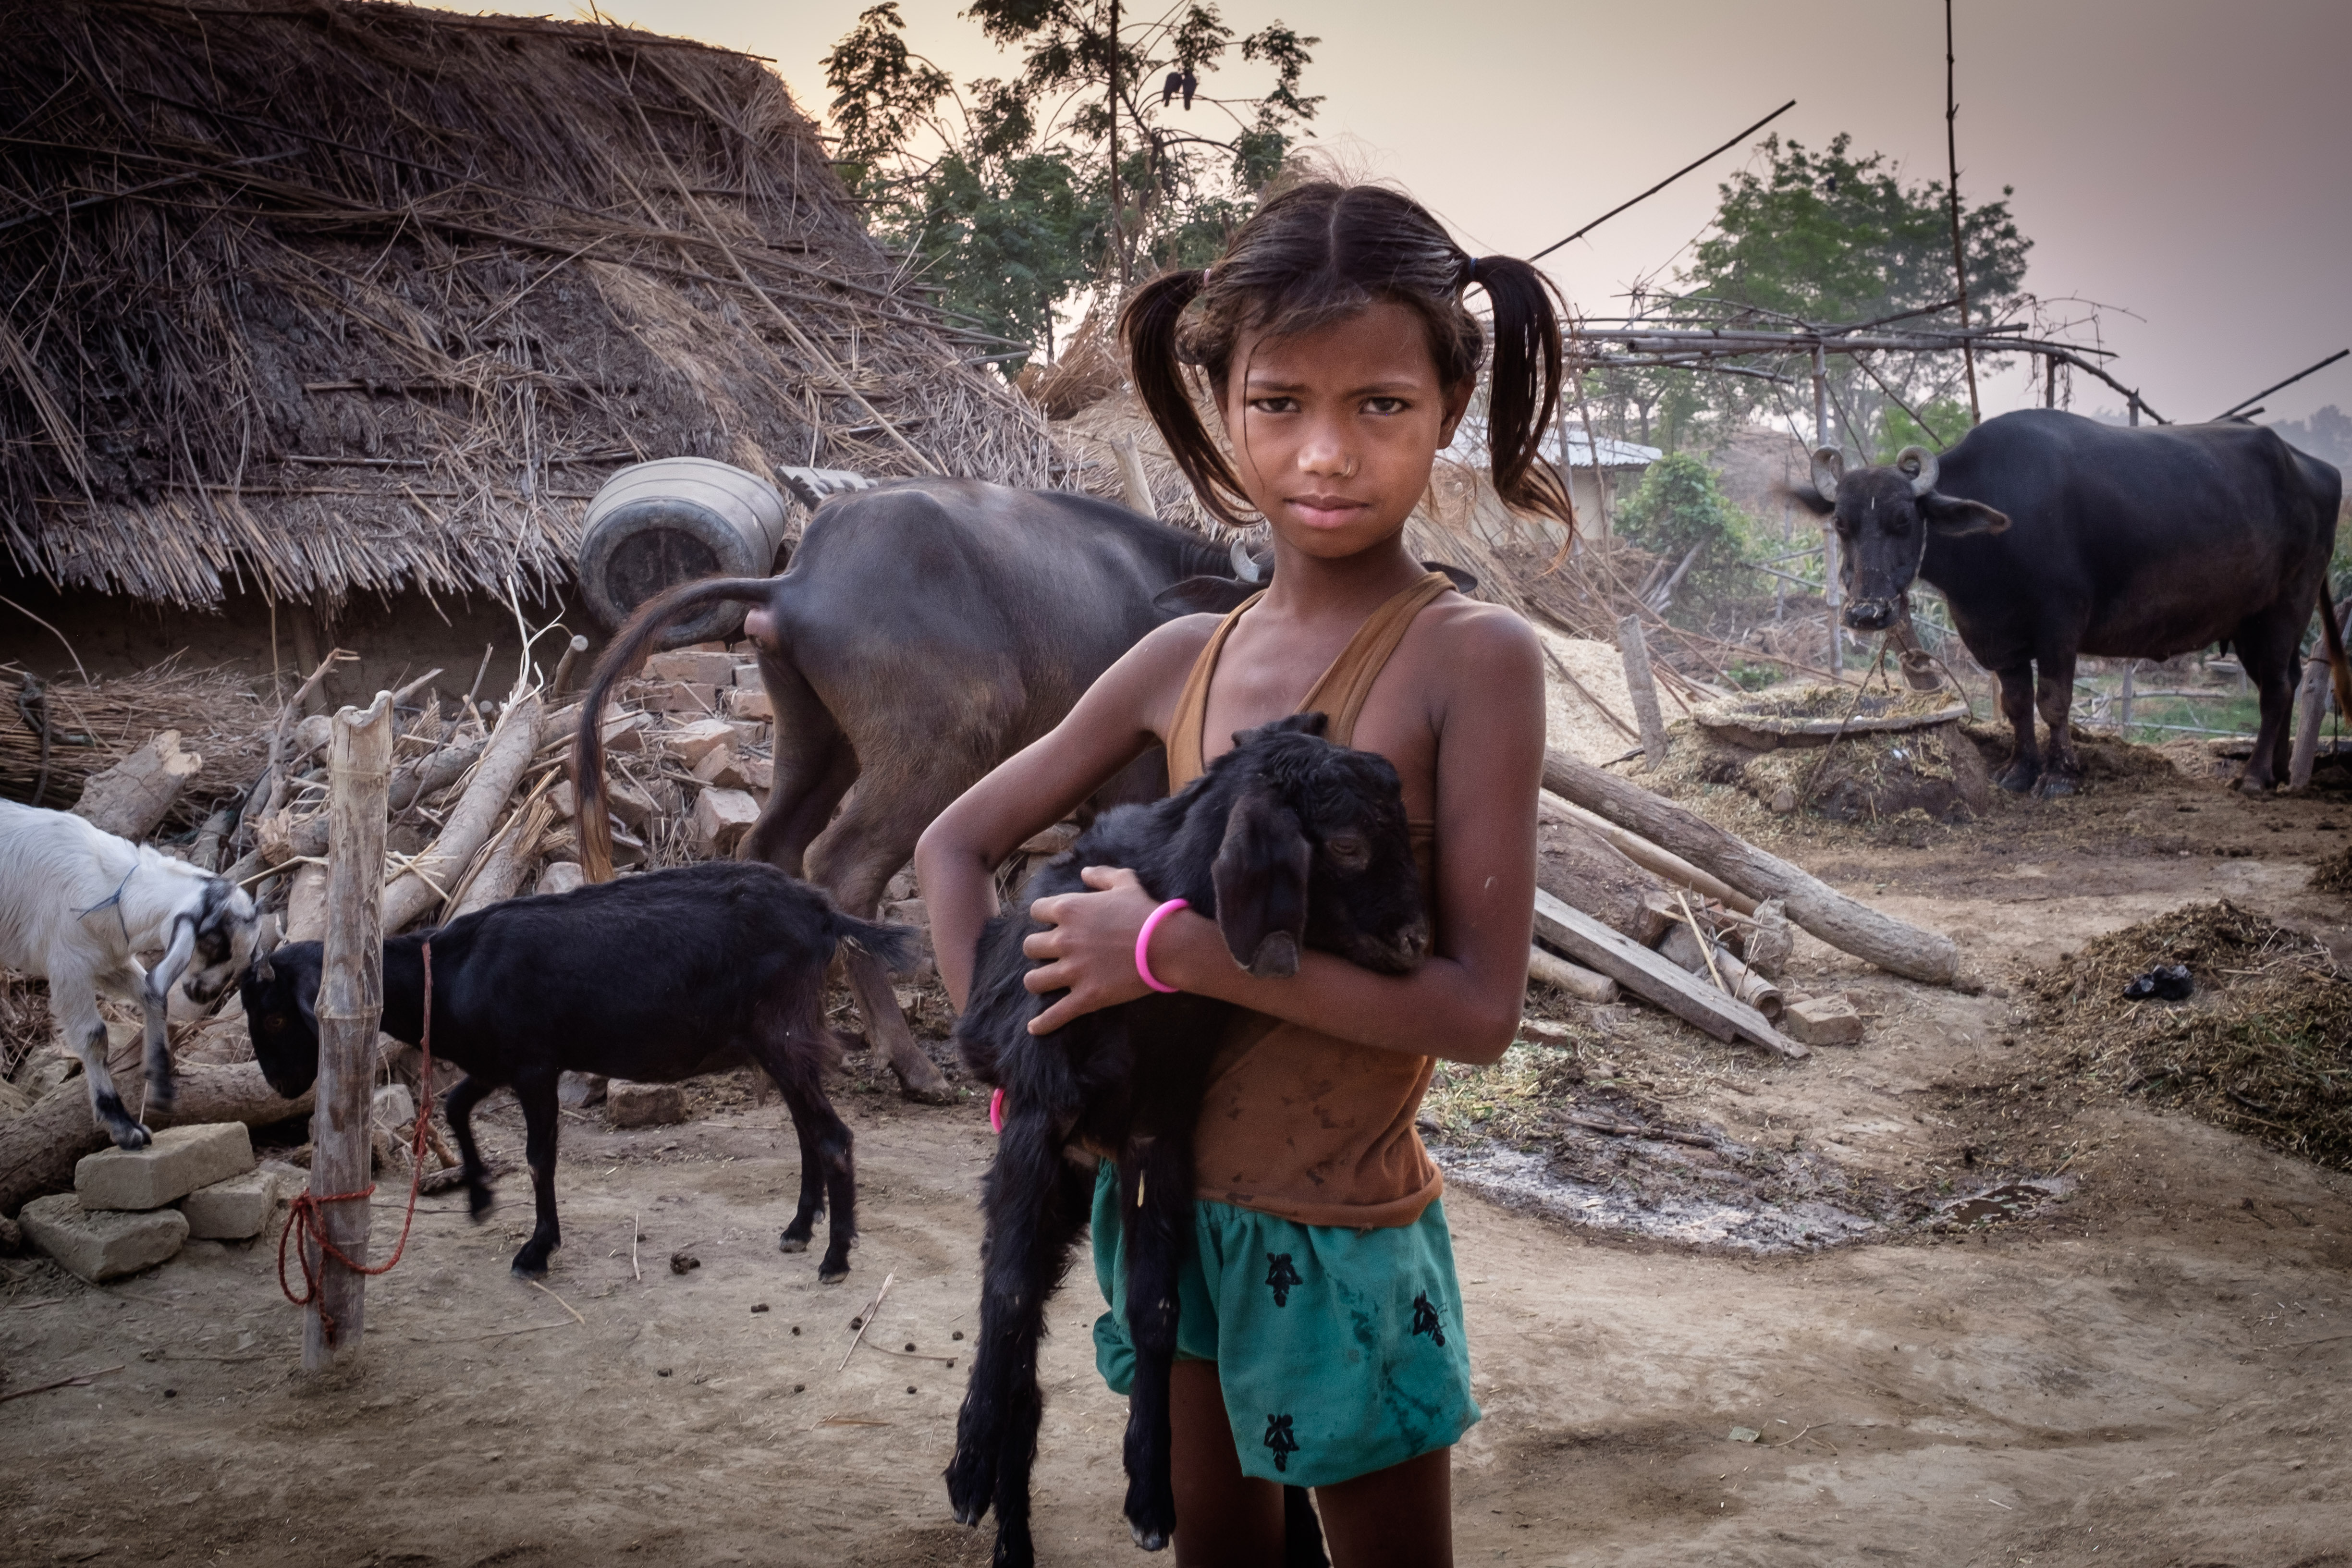
The image below ( as presented, the final image edited in Capture One) is one I struggled in getting an acceptably clean result with Adobe Camera Raw.
Varanasi Child
I took this image in a dark house in Varanasi with a Fuji 100F. The room was dark, the image underexposed and very noisy. The JPG generated by the camera was quite clean, but I could not get an image I was happy with from Adobe Camera Raw
So I tried converting the image in Capture 1. The side-by-side images below. On the left is a typical ACR conversion of a Fuji raw file. Detail is softened and lots of "worm" type artefacts. On the right, is the same image processed using Capture 1 (and the full image above is the end result)
This image is one of my favourites from Varanasi and I had almost given up on it until I tried Capture One. So, now I have moved all of my raw processing to Capture One.
This left me with a dilemma - how to keep the features I liked about Lightroom, maximise raw image conversion quality and still have a reasonably straightforward workflow? After a bit of browsing user manuals and more than one YouTube video, this is what I came up with:
Step 1 - Setup everything up!
There are a couple of simple changes needed to both Lightroom and Capture One:
- The first thing is set up an "Auto-Import" folder for Lightroom. Anything copied to this folder will be automatically imported into your Lightroom catalog. To set up Lightroom for auto-import, go the File menu, Auto-Import and choose Auto Import settings. The dialog box on the right is displayed and allows you to control the import process - pretty similar to the regular import settings. I move the files to a staging folder where I can later decide what I want to do with the image.
- Setup an export Preset from Lightroom. This gives me an easy and consistent way to transfer an image or images to Capture One. The preset copies the raw file to a fixed folder retains the original file name and type and then opens Capture One. The preset can also be used to copy a batch of files. To make it, even more, user friendly, add a shortcut key to the preset for quick access.
- In Capture One, set-up a preset export or recipe as its termed in Capture !. This will set the export file type (PSD), location - which should be equal to the Auto-import folder in Lightroom. You can also add metadata such as camera type, copyright and GPS locations and even add a watermark to the image.
This is all of the settings changes that need to be made to both programs. The purpose of the above to provide an easy way to copy the images to capture one, process them and finally send them back to Lightroom ready for cataloguing and tracking.
Step 2 - the workflow
- Import images as normal to Lightroom. I usually apply a preset to set the default film simulation type to Fuji Provia, add any general keywords that apply and set the copyright info with a metadata preset. All of this is done from the import dialog
- I take a quick run through the images and mark rejects or picks ( using the X or P shortcut). Once I completed a run-through, I use to flag filter to just show me the images I have marked as picks
- I do a second run through the picks to decide which I want to send to Capture one for further processing. Once I've narrowed it down, I export the images to Capture One using the pre-cooked export preset.
- I then switch to capture one to complete the adjustments I want to do on each image. To mark the image as processed, I tag it with the colour green. The idea of the colour tag is to allow me to separate out the processed from the unprocessed images.
- I then select the images tagged green and use the Capture One recipe to process the images as photoshop PSD files into the Lightroom auto-import folder.
- As a final clean-up, when I'm happy with the final processed image, I delete the copy raw files from the Capture One folder
Select by colour
The file viewer in Capture One allows images to be filtered by rating, keyword or colour tag. Illustrated here is a folder with 20 images, 2 of which are tagged green
Set a colour tag
This image shows how to set a colour tag on an image. Green is used in this instance to indicate that the image in question is ready for export back to Lightroom
Conclusion
I hope this is helpful to anyone struggling with ACR and Fuji raw images. I've gotten to a point now that I'm happy with my raw conversions and find that the workflow described above works seamlessly for me.
Happy to answer questions on the process


